I’ve been meaning to dive into GitHub Actions for a while, but it took until this past weekend to find some time to see something through to completion.
Before I talk about that, I wanted to walk through the scaffolding that a GitHub Action needs, using a simple example script. This will help understand how it all hangs together and we can build on top of it.
I want to give a shout out to Jessie Frazelle for this excellent blog post about this area ages ago that helped me orient myself about what the Action was doing under the hood. I also want to thank Jason Etco who has shipped a bunch of Actions-based projects that I’ve poked at to learn more about customizing actions.
The documentation for GitHub Actions is also worth reading, and I’ll link to things in there that helped me out along the way.
Scaffolding the Action
The convention for managing these actions is to add them to a subfolder under the .github directory of your repository. In this example I’m going to name this directory .github/actions/hello-ruby. This could easily live in a different repository which you can reference here, but keeping the action within the repository its being used makes it easier to hack on.
The script that I want to run inside this action is called hello-ruby.rb and looks like this:
puts "Hello Ruby from #{ENV['GITHUB_REPOSITORY']}!"
An Action has some inbuilt environment variables which are listed in the documentation. You can also set additional environment variables and provide arguments when you’re composing the the workflow, but for now this is enough to get us started.
Add an empty Gemfile file alongside your Ruby script. We don’t need it right now, but we’ll setup the Dockerfile in the next stage to install any necessary gems.
The last part of this action is the Dockerfile and my example looks like this:
FROM ruby:2.6-stretch

LABEL "com.github.actions.name"="Hello Ruby"
LABEL "com.github.actions.description"="Just say a thing"
LABEL "com.github.actions.icon"="sun"
LABEL "com.github.actions.color"="yellow"

COPY Gemfile ./

RUN bundle install

COPY . .

ENTRYPOINT ["ruby", "/hello-ruby.rb"]
There’s plenty of Docker introduction article out there if you want to learn more about what’s available here, but I’ll explain the setup and how it helps us out:
FROM ruby:2.6-stretch
There are plenty of different versions of Ruby listed on Docker Hub. I just use the latest stable image because that seems sensible for the moment.
LABEL "com.github.actions.name"="Hello Ruby"
LABEL "com.github.actions.description"="Just say a thing"
LABEL "com.github.actions.icon"="sun"
LABEL "com.github.actions.color"="yellow
These settings are ways to provide metadata related to your GitHub Action. More details about that in the documentation.
COPY Gemfile ./

RUN bundle install
The first part of building the image is installing any dependencies that our script needs. We’ve provided an empty Gemfile here, so this is a no-op, but in the future we can add additional dependencies and use them in our script.
COPY . .
After installing gems, this now moves all other files in this directory into the Docker image.
ENTRYPOINT ["ruby", "/hello-ruby.rb"]
Lastly we tell Docker we want our image to be an executable, and to run our script at the time.
Crafting the Workflow
The last part is a workflow file, which is defined by the user and allows workflows consisting of many actions, connecting them all together.
I haven’t yet figure out a way to automagically get the action running from a git push, so we’re going to use the interactive editor for now.
After getting access to the GitHub Actions beta, a new Actions tab appears in the repository view:
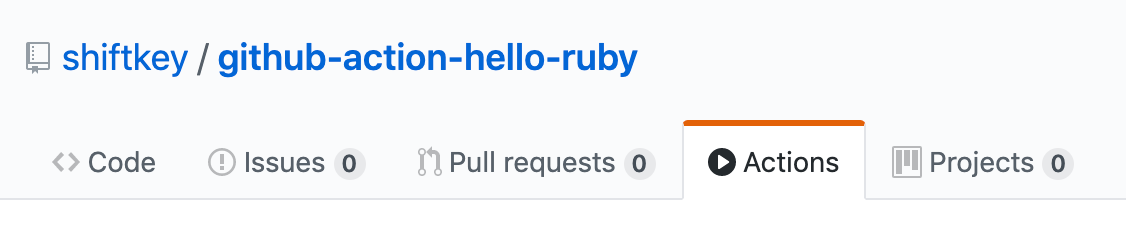
Click into that tab and you’ll be asked to setup your first workflow:
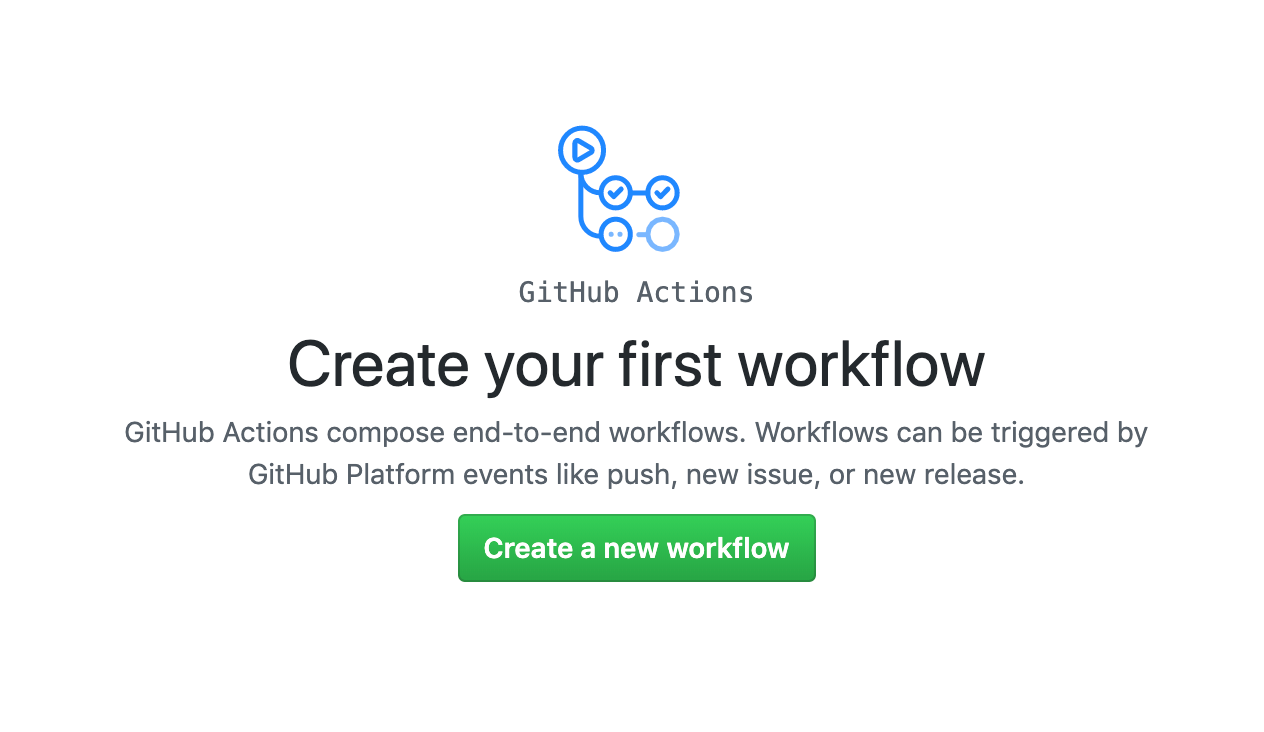
Rather than use the visual editor, I’m going to save time and switch over to the file editor and just paste in this entire config file:
on: push
name: When new commits pushed
jobs:
  sayHelloRuby:
    name: Say Hello Ruby
    runs-on: ubuntu-latest
    steps:
    - uses: actions/checkout@master
    - name: Say Hello Ruby
      uses: ./.github/actions/hello-ruby
If you’re curious about the workflow file, the full specification is available on help.github.com.
I commit directly to master because I’m feeling dangerous today, and because I’m impatient I skip filling out anything more than the placeholders:
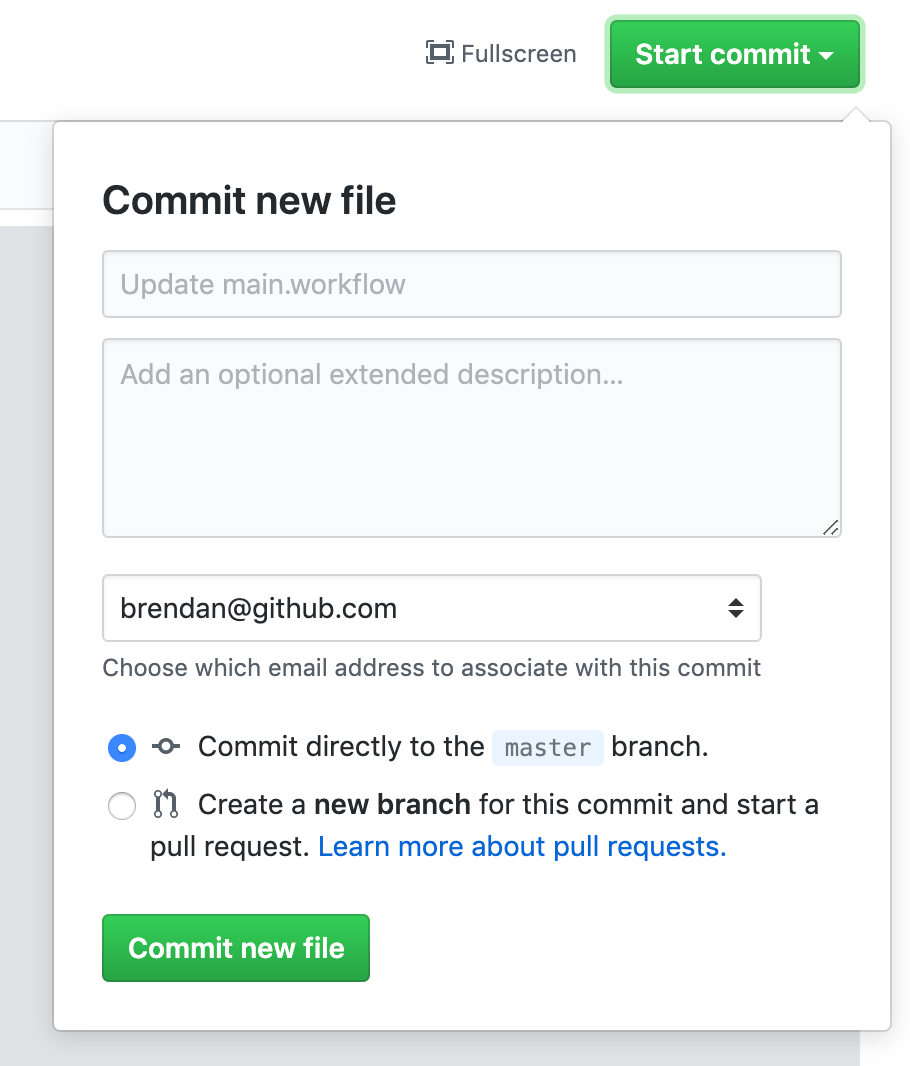
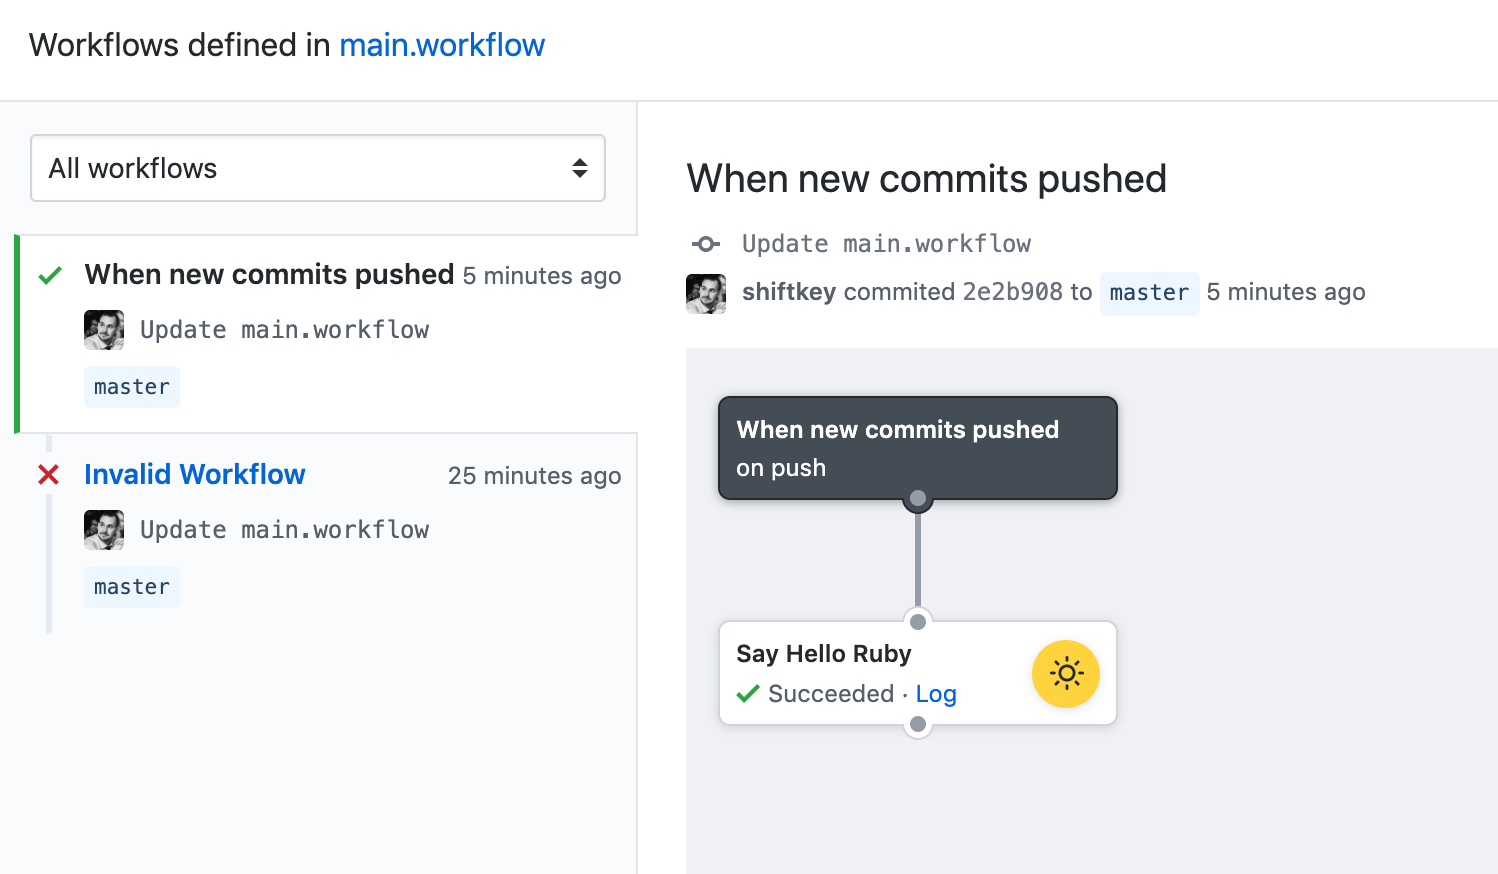
After committing it takes a moment for the magic behind the kick off, so I’ll check the rendered version of the workflow file I just created:
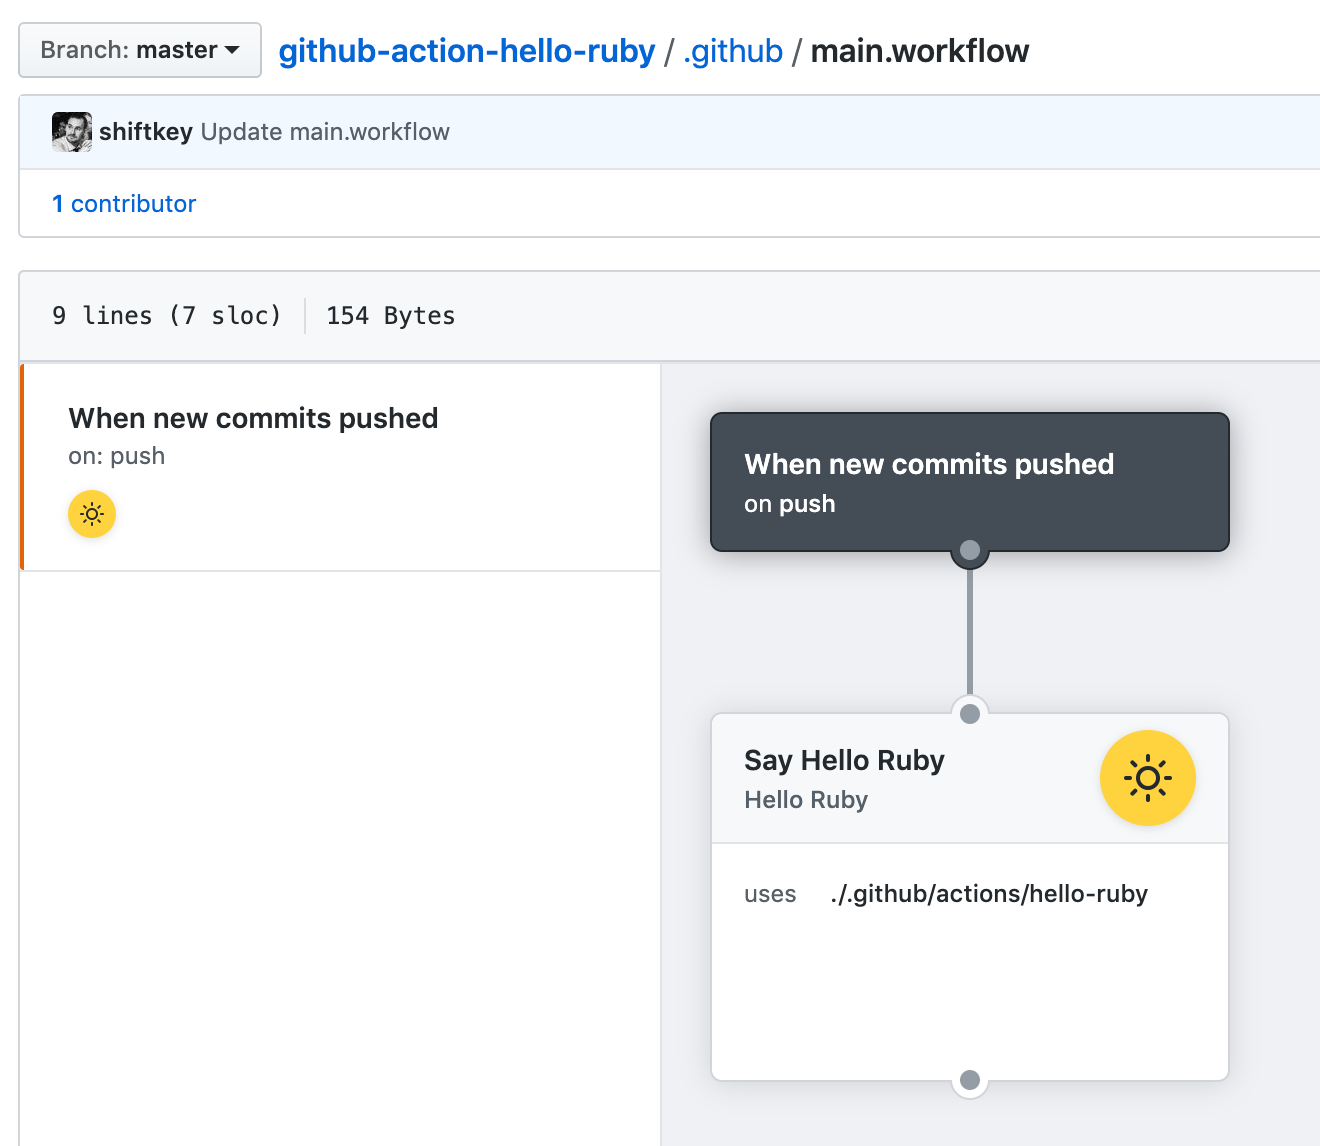
Remember those details in the Dockerfile from earlier? Changing the name, icon, and color attributes affects what gets shown here.
LABEL "com.github.actions.name"="Hello Ruby"
LABEL "com.github.actions.description"="Just say a thing"
LABEL "com.github.actions.icon"="sun"
LABEL "com.github.actions.color"="yellow
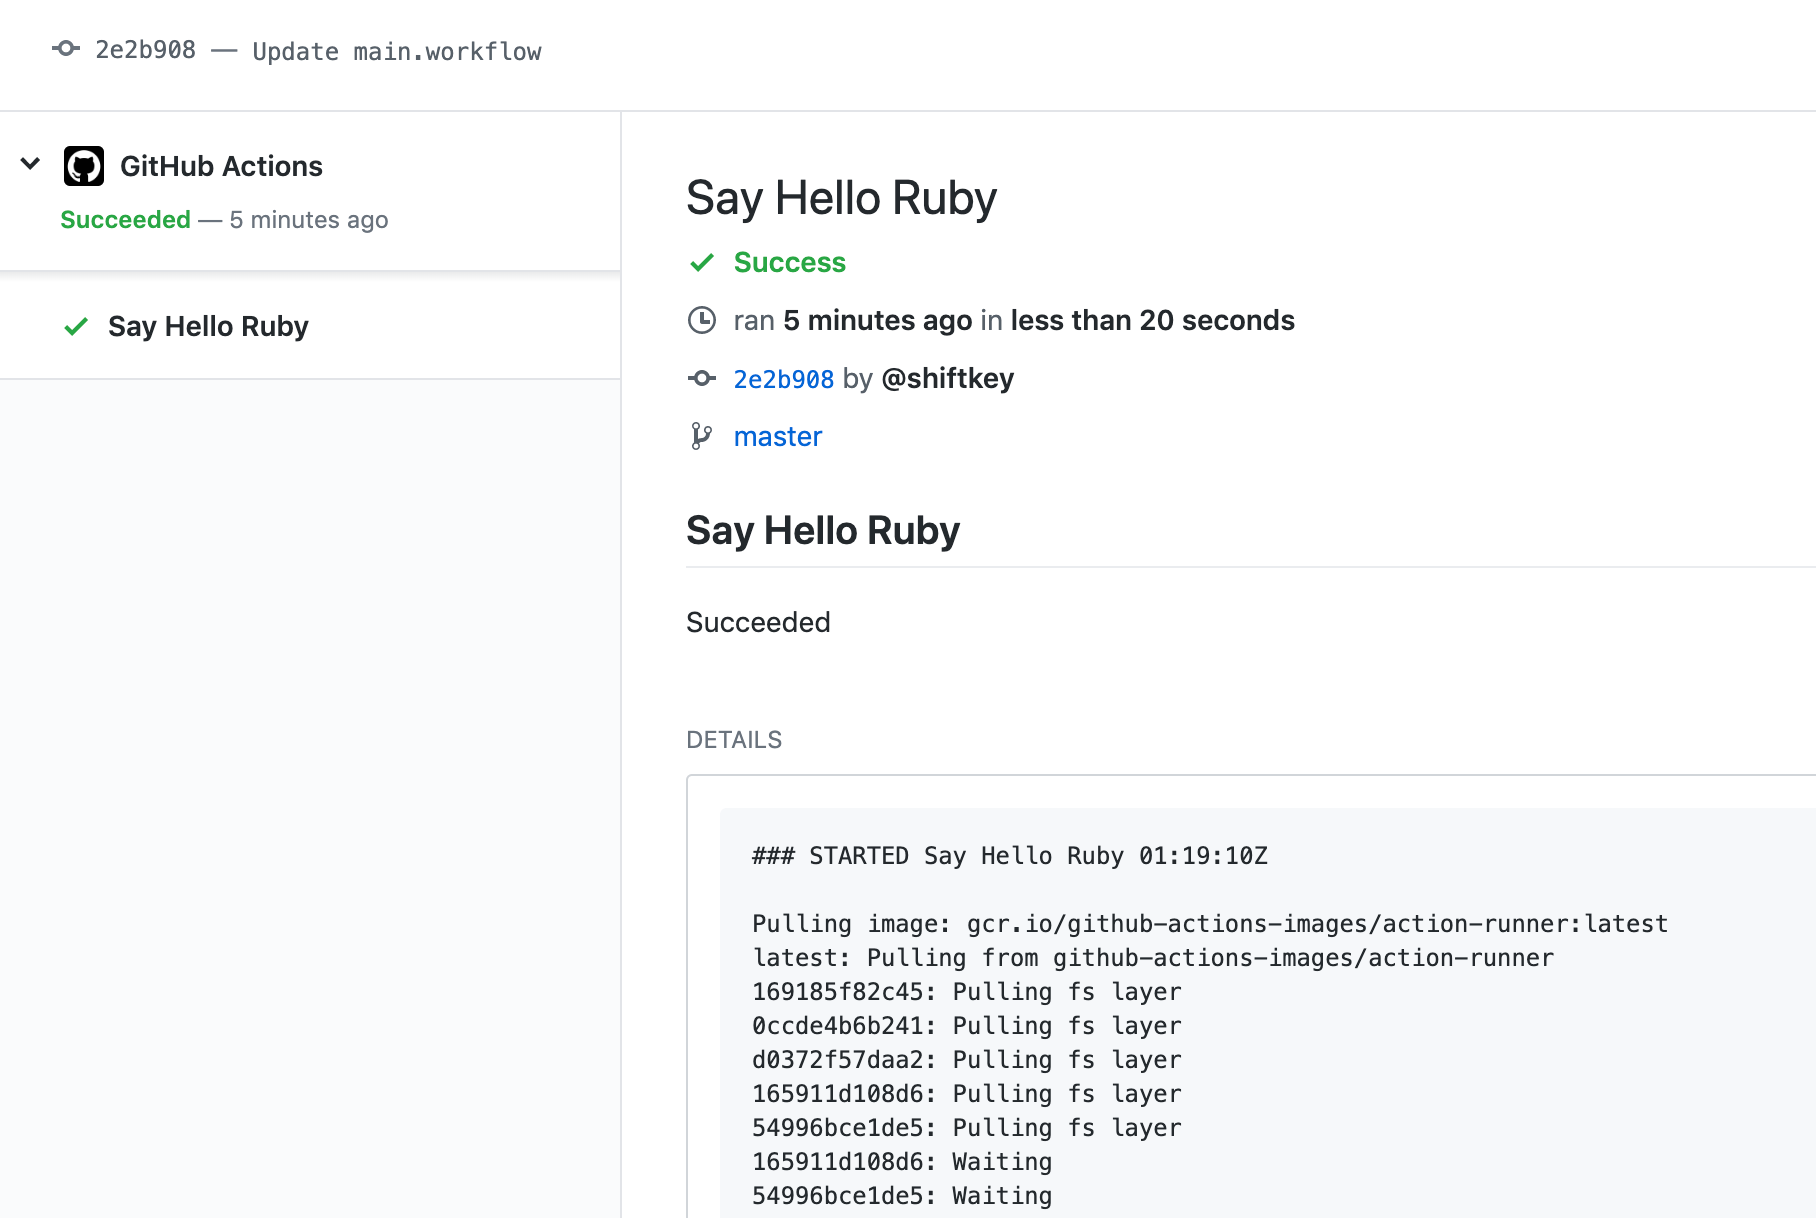
Let’s switch back and see what happened with our first action run (committing the workflow file with a push event will also run it for the first time).
I messed up this demo because I didn’t get the config right on the first run, and I can’t be bothered re-doing the screenshots to make this demo look flawless. Whatever.
Let’s click into the details of this run by clicking the Log link of our Say Hello Ruby action:
And at the end of the run you’ll see our message, including the repository this action was run in:
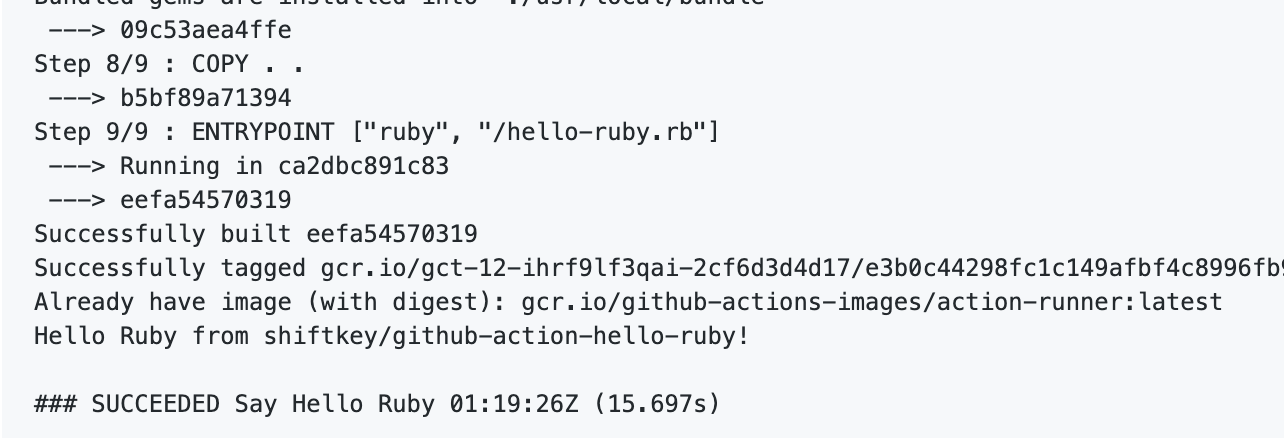
And there you go - we have some working code running inside the GitHub Actions infrastructure, which runs when we push some new code to the repository.
If that looks too simple for you, stay tuned as my next post dives into some a complex scenario and some more fun…
The Sample
If any of this is hard to follow I committed this to my shiftkey/github-action-hello-ruby repository on GitHub which you can fork and play around with yourself.